![]() Working in IT, it is often useful to be able to test software and try out stuff in a clean environment, to make sure you do not, inadvertently, destroy your work-laptop. Personally, I have been using VirtualBox for this for quite some time. However, one of my friends, and co-worker, (hi Maarten!) has been nagging me continuously over the past year about why I am still using VirtualBox and why I would not switch to KVM. Especially since I am running Fedora on my laptop, his argument is that using the de facto built-in way for virtualization on Linux is better (and faster) than using VirtualBox, which, admittedly, does have its quirks. Annoyingly, performance comparisons over time, seem to support his claim.
Working in IT, it is often useful to be able to test software and try out stuff in a clean environment, to make sure you do not, inadvertently, destroy your work-laptop. Personally, I have been using VirtualBox for this for quite some time. However, one of my friends, and co-worker, (hi Maarten!) has been nagging me continuously over the past year about why I am still using VirtualBox and why I would not switch to KVM. Especially since I am running Fedora on my laptop, his argument is that using the de facto built-in way for virtualization on Linux is better (and faster) than using VirtualBox, which, admittedly, does have its quirks. Annoyingly, performance comparisons over time, seem to support his claim.
So, after trying KVM out a few times, reluctantly and not really open-minded, and failing in accomplishing what I want, I thought it was time to go ahead and REALLY figure out what is holding me back from using KVM, and if I would be able to switch from VirtualBox to KVM as my go-to virtualization software. Also, it makes for blog-post, which is always a good thing 🙂
As is the case with any kind of switch like this, it is important to define what my requirements are for the virtual machine provider, and of course, as it is a comparison, I will be comparing everything KVM does to VirtualBox, for better or worse. I might even put in some screenshots here and there.
First things first though, what are my requirements for using virtualization, and what do I use it for?
- There is one VM “always” running on my machine, and it is my MS Office machine. Basically, I use MS Office for all my documents, as there is no real competitor for it, in the Open Source Space, in my opinion. The machine runs Outlook all the time, and I do lots of typing in there (Word, PowerPoint).
- Integration with vagrant. For VirtualBox, integration is built-in by default. KVM (or libvirt) support, can be added by installing a plugin.
- Easy-to-use. Of course, this is a very relative, and subjective, requirement. I do not mind a learning curve, but I do need to be able to be up and running pretty quickly.
- Run smoothly. Or rather: running a VM should not feel sluggish or have input lag, because with my machine, it just should not do that.
I will not be going into the nitty-gritty details of installing KVM on my machine, mostly because it is not that exciting. So, let us proceed with creating my Windows VM.
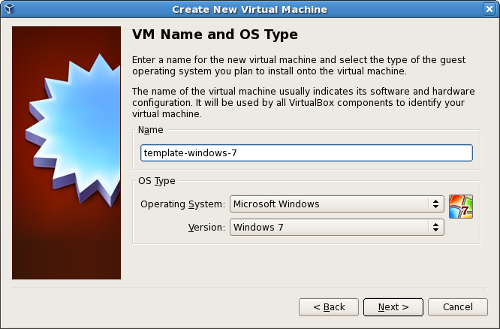
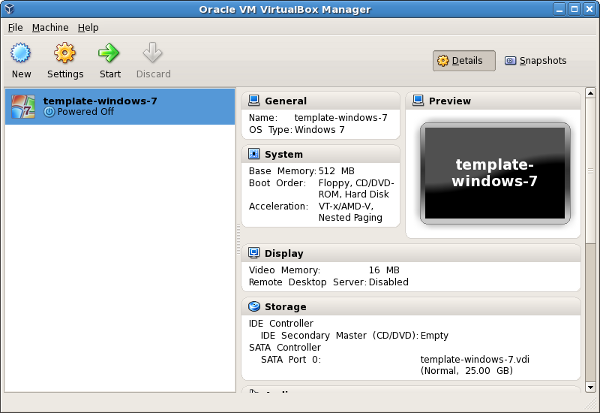
In VirtualBox, you would go about this by opening the main window, and clicking “New”. Then, you would follow the wizard to create the VM step by step. They do a really good job of explaining it (with screenshots) on the Oracle Documentation site.
In KVM, however, creating a virtual machine is done in the following way
|
1 2 3 4 5 6 7 8 9 10 11 12 13 14 |
virt-install \ --connect qemu:///system \ --hvm \ -n Win7 \ --description "Windows 7 VM" \ --os-type=windows \ --os-variant=win7 \ --ram=4096 \ --vcpus=2 \ --disk path=/home/VM_Store/KVM/win7.qed,format=qed,bus=virtio,size=50 \ --graphics spice \ --disk path=/home/VM_Store/ISO/win7.iso,device=cdrom \ --disk path=/home/VM_Store/ISO/virtio.iso,device=cdrom \ --network bridge:virbr0 |
With the different provided options being:
- –connect qemu:///system : connect to KVM on the local system
- –hvm : full virtualization
- -n Win7 : name of the new VM
- –description “Windows 7 VM” : Description of the VM
- –os-type=windows –os-variant=win7 : specify the guest OS type and variant
- –ram=4096 : amount of memory for the VM, in MB
- –vcpus=2 : amount of virtual CPU’s for the VM
- –disk /home/VM_Store/KVM/win7.img,bus=virtio,size=50 : where to store the virtual disk image of the VM, the bus to which it is attached and the size
- –graphics spice : how to display the VM’s console: via SPICE, only accessible from the local computer
- –disk path=/home/VM_Store/ISO/win7.iso,device=cdrom : location of the installation ISO
- –disk path=/home/VM_Store/ISO/virtio.iso,device=cdrom : location of the virtio drivers ISO, we need this for the installation
- –network=bridge:virbr0 : network bridge to use
After hitting the key in the CLI, you the VM will be created and started automatically.
Or, you can use the GUI…
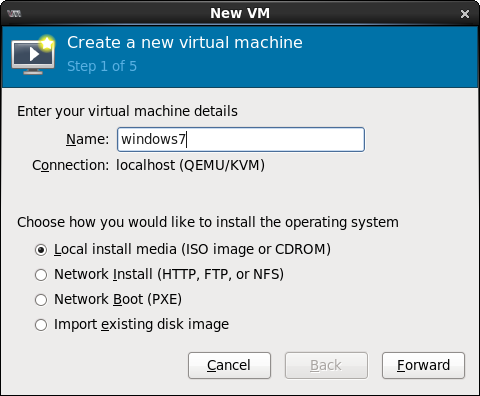
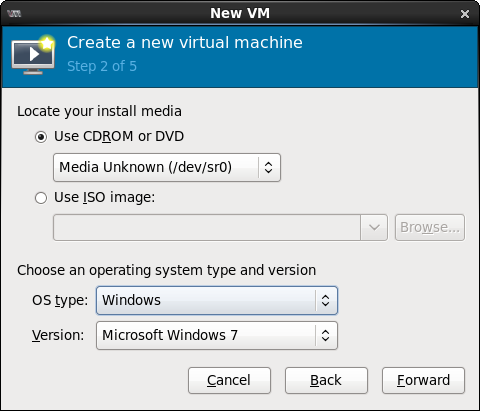
…which works equally well. The advantage of using the CLI though, is that you can specify everything directly, without having to go into the customization of the VM after creating it.
I will not be boring you with the details of the Windows 7 installation, as that is not the gist of this post. I must say though, that I did not think the installation was faster or slower than in VirtualBox. Then again, I did not do any real measurements, just looking at the installation and seeing how it went.
One thing I did notice, is that the console view for KVM is not as responsive as the console in VirtualBox, and on reloading it will show lines across the display. My guess on why this happens is because in KVM you are, in essence, using a client-server connection to show the display, whereas in VirtualBox, it seems as if the display is outputted directly, which will give you a more real experience. However, this is my guess, I have no clue if this is actually true, and if anyone knows better, I am very interested in hearing it.
This also leads directly to my second “issue” with KVM. In VirtualBox, when using the console, and after installing the Guest Additions, when you resize the console window, the resolution of the screen will change accordingly. In KVM, this will not work, as you are basically using a client-server setup to see the display. So, when using KVM, I will have to switch to a RDP solution (Remmina is my go-to app for this) instead of using the console. This is not a very big deal, as the experience should be very similar.
In a follow-up post, I will describe my experience with setting up the rest of the VM, and the daily usage, but I will need some time to get that all done first.