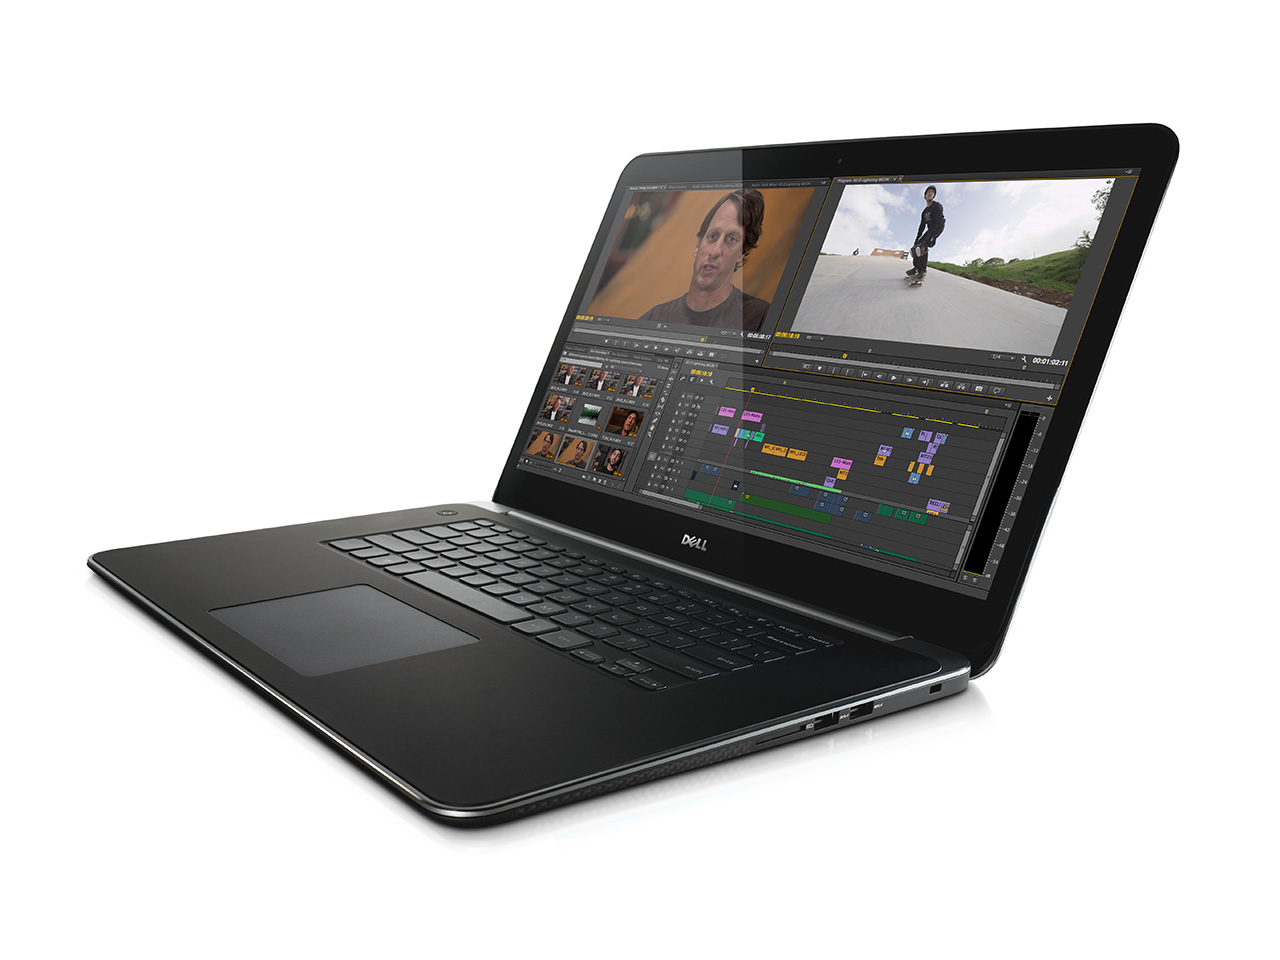
 I am the proud owner of a Dell Precision M3800 laptop, and when I say owner, I naturally mean user, as the laptop is officially owned by the company I work for. It is a very nice machine with very good specs, which is useful when you need to run a lot of VM’s on your machine.
The laptop has Windows 8 pre-installed, however, for my work I like to use Linux, more specifically Fedora, as it gives a bit more options here and there, and it’s less hungry on the resources. So, this post is basically about the things I encountered while installing and using Fedora 20 (the latest version), and I’ll make a new post when Fedora 21 has been released and I installed it on the laptop.
The first thing of note, is to disable UEFI boot in the BIOS and set it to Legacy BIOS boot mode. Fedora 20 should be able to work with UEFI, but I could not figure out how it worked, and after 4 tries I gave up and moved on.
When I was still working at my previous employer, I made a number of scripts to be able to reinstall my laptop quickly, so that I would be able to be up and running again pretty fast after a new version of Fedora had been released. Naturally, things break when using these kinds of scripts, even between version, so I usually test them on a VM (and sometimes I get other people to test-drive them, right, Maarten? 😉 )
 The normal procedure of installing, for me, is to download the latest netinstall ISO and run the installation from there. However, that posed a little issue: as there is no “physical” ethernet connection on the laptop, you are provided with a USB2LAN connector, which was not recognized by the Netinstall, which means it cannot download the files it needs for the installation to continue. So far for that brilliant idea…
So, next up was to download the normal installation ISO and put it in the correct directory on my Zalman VE300 (Side-note: awesome device, you put ISO’s in a _ISO folder on the disk, plug the USB in your computer, set it up so it mounts the ISO, and your PC/laptop will see it as a CD/DVD. No more unnecessary burning of CD’s/DVD’s) and booted the laptop again. A thing I learned: make sure you keep the USB2LAN inserted in the USB port, otherwise it won’t work.
The installation is, of course, dependent on your own preferences, and I will elaborate on my choices and setup in a future post, but for now, now that I did a minimal install, after which I ran my super-awesome-install scripts, which I will also elaborate on in a future post (especially since I pretty much forgot what I ran into, as it has been a few months already).
So, first experiences: the screen, at 3200×1800 is awesome. Earlier versions of Gnome did not handle it too well, but things have gotten better with version 3.12, I’ll get back on this in a bit. The display is reflective, which takes a bit of getting used to, but is not that bad. The touch screen is pretty much a gimmick, and one that I hardly ever use.
 To get the nVidia Quadro card working, I first tried it with the proprietary nVidia drivers, but failed multiple times, so I decided to resort to Bumblebee, and I wish I would have done that sooner, because that worked directly out of the box.
I have also used powertop (easily installable by using yum install powertop) to tune some power saving features, to get a little more battery life out of the battery.
Here is what I did with PowerTop:
Start powertop (as root) and leave it running for a bit. By using <TAB> you can switch to other screens, of which the “Tunables” one is the most interesting, as it shows you which settings can be optimized.
Leave powertop by pressing “q”
Now run powertop –html=powertop.html as this will generate a html file with all tunables. The scripts in the “Tuning” Tab can be copied to /etc/rc.d/rc.local, which you can then make executable and it will run everytime you boot up your laptop.
The contents of my rc.local is as follows, and I am posting it here as a reference, as your laptop probably has different values. As such, I cannot be held responsible for any damage caused when using the following code:
|
1 2 3 4 5 6 7 8 9 10 11 12 13 14 15 16 17 18 19 20 21 22 23 24 25 26 27 28 29 30 31 32 |
#!/bin/bash echo '1500' > '/proc/sys/vm/dirty_writeback_centisecs'; echo 'min_power' > '/sys/class/scsi_host/host0/link_power_management_policy'; echo 'min_power' > '/sys/class/scsi_host/host1/link_power_management_policy'; echo 'min_power' > '/sys/class/scsi_host/host2/link_power_management_policy'; echo 'min_power' > '/sys/class/scsi_host/host3/link_power_management_policy'; echo 'min_power' > '/sys/class/scsi_host/host4/link_power_management_policy'; echo 'min_power' > '/sys/class/scsi_host/host5/link_power_management_policy'; echo '1' > '/sys/module/snd_hda_intel/parameters/power_save'; echo '0' > '/proc/sys/kernel/nmi_watchdog'; #echo 'auto' > '/sys/bus/usb/devices/3-6/power/control'; # Touchscreen echo 'auto' > '/sys/bus/usb/devices/3-9/power/control'; echo 'auto' > '/sys/bus/pci/devices/0000:07:00.0/power/control'; echo 'auto' > '/sys/bus/pci/devices/0000:00:00.0/power/control'; echo 'auto' > '/sys/bus/pci/devices/0000:00:01.0/power/control'; echo 'auto' > '/sys/bus/pci/devices/0000:00:03.0/power/control'; echo 'auto' > '/sys/bus/pci/devices/0000:00:04.0/power/control'; echo 'auto' > '/sys/bus/pci/devices/0000:00:14.0/power/control'; echo 'auto' > '/sys/bus/pci/devices/0000:00:16.0/power/control'; echo 'auto' > '/sys/bus/pci/devices/0000:00:1a.0/power/control'; echo 'auto' > '/sys/bus/pci/devices/0000:00:1b.0/power/control'; echo 'auto' > '/sys/bus/pci/devices/0000:00:1c.0/power/control'; echo 'auto' > '/sys/bus/pci/devices/0000:00:1c.3/power/control'; echo 'auto' > '/sys/bus/pci/devices/0000:00:1d.0/power/control'; echo 'auto' > '/sys/bus/pci/devices/0000:00:1f.0/power/control'; echo 'auto' > '/sys/bus/pci/devices/0000:00:1f.2/power/control'; echo 'auto' > '/sys/bus/pci/devices/0000:00:1f.3/power/control'; echo 'auto' > '/sys/bus/pci/devices/0000:00:1f.6/power/control'; echo 'auto' > '/sys/bus/pci/devices/0000:02:00.0/power/control'; echo 'auto' > '/sys/bus/pci/devices/0000:00:02.0/power/control'; #echo 'auto' > '/sys/bus/pci/devices/0000:06:00.0/power/control'; # Wireless echo 'auto' > '/sys/bus/pci/devices/0000:00:1c.2/power/control'; |
I also installed tuned, which is a package that can automatically tune variables for power saving. I usually keep this on balanced (and mostly forget about it as well), but you should be able to play around with that a bit.
Also, I promised to get back to the display and HiDPI and whatnot. Gnome 3.12 handles a HiDPI screen pretty well, however, there are a number of applications (I’m looking at you, Google Chrome) that just not play nicely with a HiDPI screen. This basically means that all interface elements are insanely small, while you can adjust most of the content of sites (zoom 150%) to look nice. Also, using RDP to a server that has, for instance, a resolution of 1600×900 will take up only one-fourth of the screen, and that is very small 😉 (Tip: use Remmina, also easily installable using yum). Another thing to note is that X.org does not handle attaching a second screen on a non-HiDPI resolution very well, but hopefully that will be better when Wayland comes out. Again, more elaboration on this in a future post.
That’s about it for now, I will try to answer any questions, and will also make a better post when reinstalling my laptop with Fedora 21, and will also try to structure that post a bit better 🙂
Pingback: HiDPI screens and apps | BenWeb